How to Clean Your Semi-Truck’s Diesel Fuel Tank: The Complete 2025 Guide
TL;DR: A dirty fuel tank in your truck is a direct threat to your engine and your wallet, leading to expensive repairs and significant downtime. This article provides a detailed breakdown of how to identify the problem, how to clean the tank yourself (safely and step-by-step), and when it’s better to trust the job to professionals. A clean tank is the key to power, fuel economy, and a long life for your truck.
Hard starts, misfires, or sluggish engine response?
Burning more fuel than usual?
Finding sludge, rust, or water in your tank or fuel filters?
It could mean your diesel tank is contaminated — and it’s time to take action before costly breakdowns happen.
Imagine this scenario: you’re halfway to your destination, already behind schedule, when the engine starts to sputter, lose power, and then finally dies in the middle of the highway.
A tow truck, emergency repairs, missed delivery deadlines—all of this can be the result of one seemingly minor issue that was ignored for too long. According to industry reports, up to 80% of diesel engine failures are related in some way to fuel quality, and the root cause is often the contamination that has settled at the bottom of the fuel tank. This isn’t just a minor annoyance; it’s a ticking time bomb at the heart of your truck.
So, where does this threat come from? Diesel fuel tanks are not perfectly sealed, sterile containers. Over time, they inevitably accumulate a whole cocktail of contaminants. Condensation leads to water, which is heavier than diesel and settles at the bottom, creating the perfect environment for rust and microbial growth.
These bacteria and fungi, known as the “diesel bug,” feed on the hydrocarbons in the fuel and form a thick, sludge-like biomass. Add to that rust particles from the tank walls, dirt, and other debris that can enter during refueling, and you get a viscous sediment that clogs fuel filters, wears out injectors, and can cause serious damage to the high-pressure fuel pump.
Fortunately, this problem can and should be solved. The purpose of this article is to provide you with a comprehensive and practical guide to cleaning your semi-truck’s diesel fuel tank. We will explore two primary approaches. For drivers who aren’t afraid to get their hands dirty, we have prepared a detailed step-by-step instruction manual for a DIY cleaning, with a strong emphasis on safety procedures. For fleet managers and those who value their time and seek a guaranteed result, we will break down the benefits of turning to professional services, their advanced methods, and the criteria for choosing a reliable contractor.
This illustration by Big Diesel Parts highlights the danger of microbial sludge, rust, and water buildup in untreated tanks
Ultimately, it’s crucial to understand one simple truth: maintaining a clean fuel tank is not an extra expense but a fundamental part of truck maintenance. It is a direct investment in its smooth operation, in preserving engine power at its proper level, in extending the life of expensive fuel system components, and, importantly, in your financial stability and peace of mind on the road.
Recognizing the Red Flags: Signs of a Contaminated Fuel Tank
A contaminated fuel tank can silently sabotage your vehicle’s performance and cause expensive damage if left unchecked. This guide helps you catch the warning signs early — and protect your diesel engine before it’s too late.
Engine Performance Issues
Contaminated fuel disrupts combustion, leading to:
Hard starting: The engine cranks longer than usual or won’t start at all.
Rough idling or misfires: The engine shakes or runs unevenly at idle.
Loss of power: Acceleration feels sluggish or unresponsive.
Increased fuel consumption: You’re using more diesel to go the same distance.
Fuel System Red Flags
Contaminants don’t just affect combustion — they also clog and corrode key components:
Frequent fuel filter clogs: Needing replacements more often than normal? It’s likely due to sludge or debris.
Water or sediment in separator: Check your fuel/water separator for visible particles or murky fuel.
Strange pump noises: A whining or grinding sound could mean the fuel pump is struggling with dirty fuel.
Visual Inspection Tips
Sometimes, the signs are right in front of you:
Shine a flashlight into the tank: Look for rust flakes, sludge buildup, or any visible gunk.
Smell test: A sour or rotten odor often signals microbial growth or degraded fuel.
Spotting the signs of a dirty fuel tank early — like poor performance, clogged filters, or visible sludge — can prevent thousands in repair bills. Regular checks, clean fuel practices, and early action are your best defense.
The Do-It-Yourself Approach: A Step-by-Step Cleaning Guide
For the owner-operator or driver who prefers hands-on maintenance, cleaning your own fuel tank can be a rewarding and cost-effective task. This path requires careful preparation, the right tools, and an unwavering commitment to safety. Undertaking this job gives you complete control over the process and a deeper understanding of your truck’s condition. What follows is a comprehensive walkthrough designed to guide you through a thorough and safe cleaning.
A. Critical Safety Precautions: Handling Diesel Fuel Safely
Disclaimer: Let’s be perfectly clear from the start. This is not a simple or risk-free job. You will be working with flammable liquids and potentially hazardous fumes. This guide is intended for individuals who are mechanically inclined and fully understand the risks involved. If you have any doubts about your ability to perform these steps safely, we strongly recommend hiring a professional service. Your safety is paramount and not worth compromising.
Essential Personal Protective Equipment (PPE): Before you even think about opening the tank, you must be properly equipped.
Splash-Proof Goggles: Diesel fuel can cause serious eye irritation or permanent damage. Standard safety glasses are not enough; you need fully sealed goggles.
Fuel-Resistant Gloves: Use nitrile or other specifically rated fuel-resistant gloves. Diesel will quickly degrade standard latex or vinyl gloves, exposing your skin to harmful chemicals.
Respirator: A half-mask respirator with organic vapor cartridges is essential. Diesel fumes are toxic when inhaled and can cause dizziness, headaches, and long-term health problems. A simple dust mask offers zero protection here.
Work Area Safety: The environment where you work is just as important as your PPE.
Ventilation is Key: Never attempt this indoors or in an enclosed garage. Work outside in a wide-open space where fumes can dissipate quickly.
No Ignition Sources: This is non-negotiable. Extinguish all nearby pilot lights. Prohibit any smoking, welding, grinding, or open flames anywhere near the work area. A stray spark can ignite fuel vapors with catastrophic results.
Fire Extinguisher: Have at least one ABC-rated fire extinguisher within arm’s reach at all times. Know how to use it.
Proper Fuel Handling: Managing the drained fuel requires care.
Use Approved Containers: You must store the siphoned fuel in containers specifically designed and approved for diesel fuel (e.g., DOT-approved fuel caddies or barrels). Never use old milk jugs, buckets, or unrated containers that can degrade or generate static electricity.
B. Tools and Materials Checklist
Gather everything you need before you start to avoid interruptions.
Tools:
DOT-approved fuel transfer pump or siphon
Sufficient quantity of approved fuel storage containers
Wrench and socket set to remove tank straps and the sending unit
Screwdrivers (various types)
Long-handled, stiff-bristled brushes (use materials that won’t create sparks)
A non-sparking scraper or scoop for sludge removal (plastic or brass)
A reliable, bright flashlight (preferably intrinsically safe or LED)
Plenty of clean, lint-free rags or cloths
A new gasket for the fuel sending unit
Cleaning Agents & Materials:
A quality, diesel-specific tank cleaner or solvent
Diesel biocide additive
Fresh, clean diesel fuel for rinsing and refueling
C. The Cleaning Process: A Detailed Walkthrough
Once your safety measures are in place and your tools are ready, you can begin the cleaning process.
This infographic by Big Diesel Parts & Service outlines all key steps for properly cleaning a diesel fuel tank—draining, debris removal, scrubbing, flushing, drying, and safe refueling
Drain the Fuel Tank: Run the truck’s engine until the fuel level is as low as practically possible. Position your approved storage containers nearby and use the fuel transfer pump to safely siphon all remaining diesel from the tank. Ensure you get as much out as you can from the bottom.
Remove the Sending Unit/Access Plate: Disconnect the truck’s battery to prevent any electrical sparks. Carefully unplug the wiring harness connected to the fuel sending unit. Using the appropriate wrench, slowly loosen and remove the bolts or the locking ring that secures the unit to the tank. Lift the sending unit out carefully, being mindful of the float arm and sensor, which can be delicate. This opening will be your primary access point for cleaning.
Initial Debris Removal: With the tank open, use your flashlight to inspect the interior. You will likely see a layer of dark sludge and possibly larger debris at the bottom. Use your non-sparking scoop and rags to manually remove as much of this thick sediment as possible. This initial step makes the subsequent cleaning much more effective.
Scrub the Interior: Pour a quantity of your chosen diesel tank cleaner into the tank. Using your long-handled brushes, vigorously scrub all interior surfaces—the bottom, the sides, and the top surface. Pay special attention to corners and seams where contaminants love to hide. This is the most labor-intensive part of the job, but a thorough scrubbing is essential for a truly clean tank.
Rinse and Flush: Once you’ve broken down all the grime, you must remove the cleaning agent and all loosened debris completely. Drain the used cleaning solvent into a designated waste container. Next, pour a gallon or two of fresh, clean diesel into the tank. Swirl it around vigorously to rinse all the surfaces, then drain this rinsing diesel completely. Repeat this flush process until the drained diesel comes out perfectly clean and free of debris.
Dry the Tank: This step is absolutely critical. Any water or moisture left inside will become the seed for future contamination. Use your lint-free rags to wipe down the interior as much as you can reach. Then, allow the tank to air dry completely. Leaving the access plate open in a safe, dry, and secure location for several hours is a good strategy. Do not be tempted to use a heat source to speed this up.
Reassembly and Refueling: Inspect your old sending unit gasket; it is highly recommended to replace it with a new one to ensure a perfect, leak-proof seal. Carefully lower the sending unit back into place, secure it with its locking ring or bolts, and reconnect the wiring harness. Reconnect the truck’s battery. Finally, you can refuel the tank with fresh, clean diesel. For proactive protection, this is the perfect time to add a dose of diesel biocide and a quality fuel additive to the fresh fuel.
Calling in the Experts: The Professional Fuel Tank Cleaning Option
For many, the most effective route is to hire specialists. This approach saves valuable time, eliminates safety risks, and often yields a more thorough result, making it a strategic choice for busy owner-operators and fleet managers alike.
When to Call a Professional
While a DIY clean is possible, it’s best to call a professional service in key situations. This is the smartest move when facing severe contamination like thick sludge or significant rust. It’s also the only practical solution when managing a fleet of vehicles, as it dramatically reduces total downtime. If you simply lack the time, proper tools, or a safe workspace, or if you require official documentation of the cleaning for warranty or service records, letting an expert handle the job is the right decision.
The Professional Process and Its Advantages
Professionals bring advanced technology to the task. They often use methods like fuel polishing, a process that circulates and filters your existing fuel to remove water and debris without needing to drain the tank. This is paired with high-pressure washing and potent, specialized solvents for the tank interior.
Crucially, they assume the full responsibility for hazardous waste. All contaminated fuel and sludge are disposed of legally and safely, removing a significant burden from you. Furthermore, a quality service includes a detailed internal tank inspection, often using borescopes, and provides a full report on your tank’s condition.
How to Choose a Reputable Service
Finding the right company is essential. Use this quick checklist to make your choice:
Look for specialists who focus on semi-trucks and heavy-duty diesel systems.
Verify their insurance and ensure they have the proper licenses for waste disposal.
Check reviews and ask for references from other trucking clients.
Ask about their process to confirm they use modern techniques.
DIY vs. Professional Cleaning: A Head-to-Head Comparison
Choosing between cleaning the tank yourself and hiring a service comes down to a trade-off between money, time, and results. Here is a direct comparison to help you decide.
Factor
DIY Approach
Professional Service
Cost
Low initial cash outlay, primarily for cleaning agents and tools.
Higher upfront cost for the service call.
Thoroughness
Good for routine cleaning, but may not remove severe contamination.
Superior results, especially for heavy sludge and rust, due to advanced equipment.
Time & Effort
Significant commitment required; a full day or more of hands-on, hard work.
Minimal effort required from you; frees up your time for driving.
Safety
High personal risk involved with handling flammable fuel and chemicals.
All safety and environmental risks are managed by the insured professionals.
Convenience
Low convenience; requires sourcing tools, performing the work, and waste disposal.
High convenience; a complete, hassle-free, “done-for-you” solution.
Proactive Maintenance: Keeping Your Fuel Tank Clean for the Long Haul
Cleaning your tank is a reset, but prevention is the key to avoiding future problems. Integrating these simple habits into your routine will keep your fuel system healthy.
Use High-Quality Fuel: Purchase your diesel from reputable, high-volume truck stops. Their tanks are refilled more often, reducing the chance of water and sediment accumulation.
Regularly Use Fuel Additives: A quality diesel additive and biocide should be a regular part of your refueling process. They prevent microbial growth, stabilize fuel, and help manage moisture.
Drain Your Water Separator: This is one of the most crucial and simple checks. Drain any collected water from your fuel/water separator daily or at least weekly to stop water from ever reaching the tank.
Keep the Tank Full: Especially in humid climates or when the truck will sit for a period, try to keep the tank as full as possible. This minimizes the amount of moist air inside, which reduces water condensation.
Perform Regular Inspections: Once in a while, use a flashlight to look inside your fuel tank during refueling. Catching early signs of cloudiness or debris can save you from a major cleaning job down the road.
Ultimately, the health of your diesel fuel tank is directly tied to the performance and reliability of your engine. We’ve seen that a dirty tank can lead to costly downtime, while a clean one protects your most vital components. Whether you choose the hands-on DIY method or opt for the thoroughness of a professional service, the goal is the same: removing the harmful contaminants that threaten your livelihood.
However, the most powerful strategy is always prevention. By being proactive with high-quality fuel, consistent use of additives, and regular checks, you can drastically extend the time between necessary cleanings. Think of fuel tank maintenance not as a chore, but as a smart and continuous investment in the long-term profitability and durability of your semi-truck. A clean system is a reliable system.
More articles
Flexplate vs. Flywheel: What’s Bolted to Your Crank, and Why You Should Care
Contents1 TL;DR (The Short Version)2 Let’s Get Real About the Link Between Your Engine and Transmission3 What is a Flywheel? The Heart and Soul of a Manual Gearbox3.1 Getting Down to Brass Tacks: How a Flywheel Works4 What is a Flexplate? The Automatic’s Answer to the Flywheel4.1 The Skinny on Flexplates5 Head-to-Head: The Nitty-Gritty Comparison5.1 […]
How to Clean Your Semi-Truck’s Diesel Fuel Tank: The Complete 2025 Guide
TL;DR: A dirty fuel tank in your truck is a direct threat to your engine and your wallet, leading to expensive repairs and significant downtime. This article provides a detailed breakdown of how to identify the problem, how to clean the tank yourself (safely and step-by-step), and when it’s better to trust the job to […]
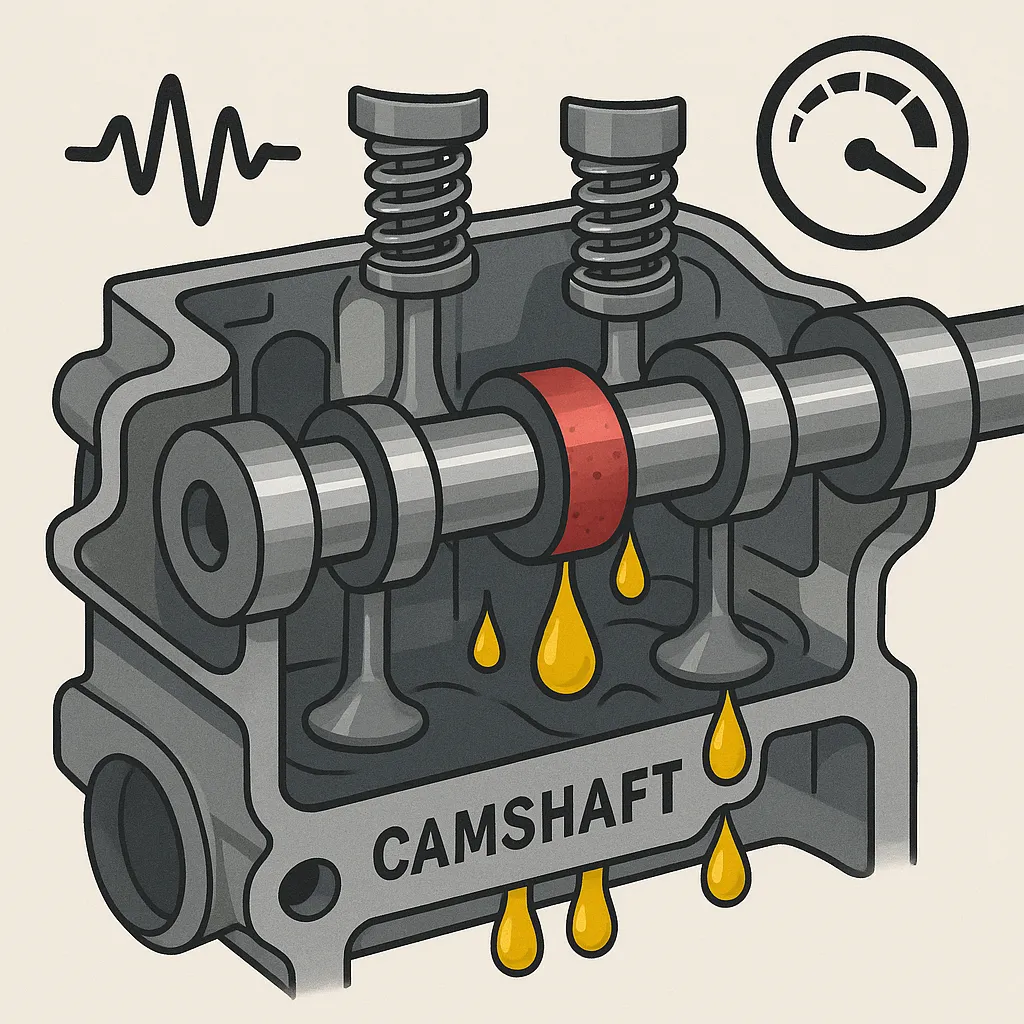
Key Takeaways Contents1 What the Camshaft Does (And Why It Matters)2 Spotting a Bad Camshaft3 Why Cam Lobes Wear Out4 Reading the Damage: Wear Patterns Explained5 Fixing It (And Stopping It from Happening Again)5.1 Prevention Is Priceless6 Frequently Asked Questions What the Camshaft Does (And Why It Matters) Deep in your engine, the camshaft times […]